Home Assistant
Home Assistant is a home automation platform written in Python, with extensive support for 3rd-party home-automation platforms including Xaomi, Phillips Hue, and a bazillion others.
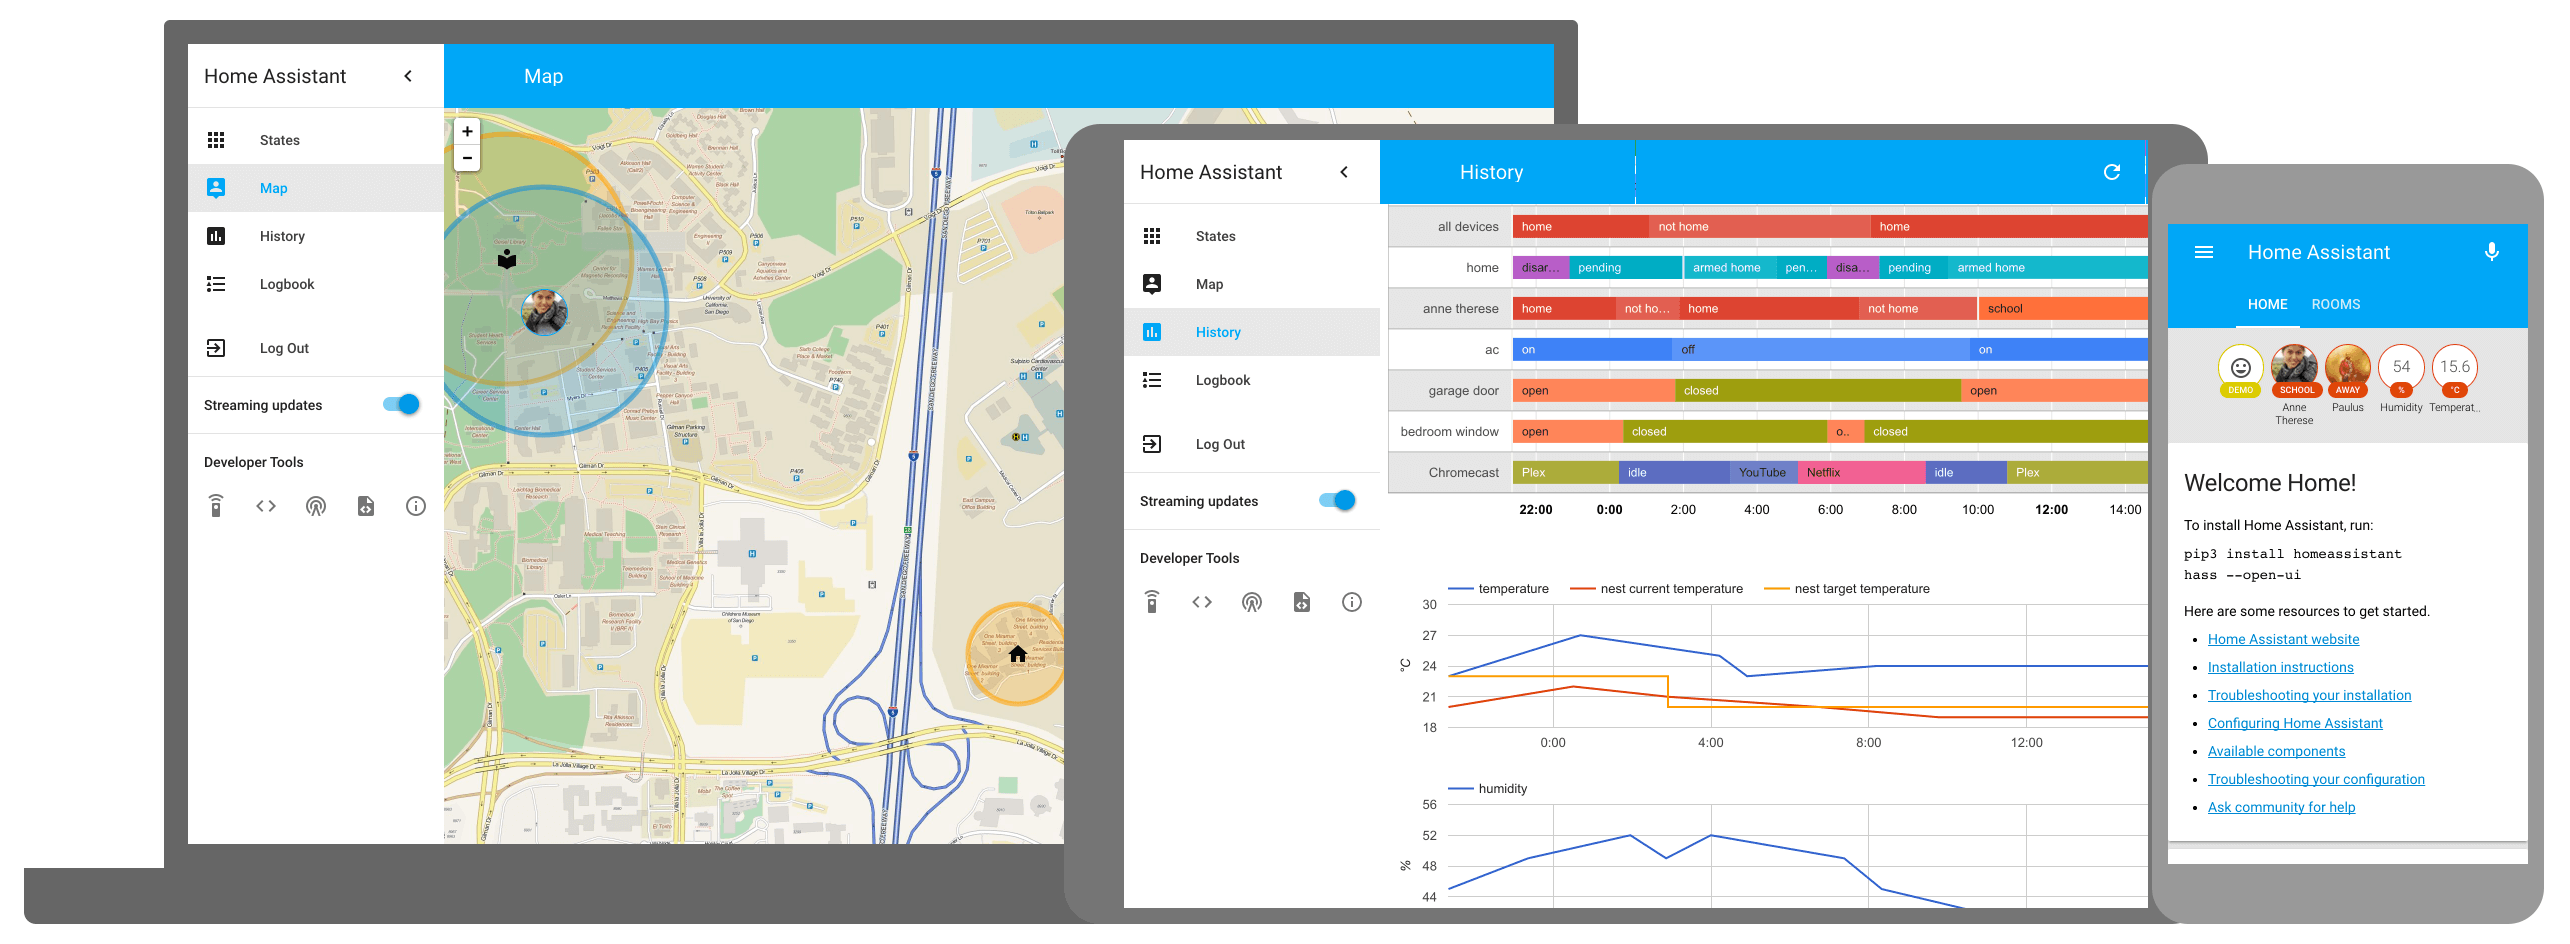
This recipe combines the extensibility of Home Assistant with the flexibility of InfluxDB (for time series data store) and Grafana (for beautiful visualisation of that data).
Home Assistant Requirements
Ingredients
Already deployed:
- Docker swarm cluster with persistent shared storage
- Traefik configured per design
- DNS entry for the hostname you intend to use (or a wildcard), pointed to your keepalived IP
Related:
- Traefik Forward Auth or Authelia to secure your Traefik-exposed services with an additional layer of authentication
Preparation
Setup data locations
We'll need several directories to bind-mount into our container, so create them in /var/data/homeassistant:
mkdir /var/data/homeassistant
cd /var/data/homeassistant
mkdir -p {homeassistant,grafana,influxdb-backup}
Now create a directory for the influxdb realtime data:
mkdir /var/data/runtime/homeassistant/influxdb
Prepare Home Assistant environment
Create /var/data/config/homeassistant/grafana.env, and populate with the following - this is to enable grafana to work with oauth2_proxy without requiring an additional level of authentication:
GF_AUTH_BASIC_ENABLED=false
Home Assistant Docker Swarm config
Create a docker swarm config file in docker-compose syntax (v3), something like the example below:
Fast-track with premix! 🚀
I automatically and instantly share (with my sponsors) a private "premix" git repository, which includes necessary docker-compose and env files for all published recipes. This means that sponsors can launch any recipe with just a git pull and a docker stack deploy 👍.
🚀 Update: Premix now includes an ansible playbook, so that sponsors can deploy an entire stack + recipes, with a single ansible command! (more here)
version: "3"

services:
    influxdb:
      image: influxdb
      networks:
        - internal
      volumes:
        - /var/data/runtime/homeassistant/influxdb:/var/lib/influxdb
        - /etc/localtime:/etc/localtime:ro

    homeassistant:
      image: homeassistant/home-assistant
      dns_search: hq.example.com
      volumes:
        - /var/data/homeassistant/homeassistant:/config
        - /etc/localtime:/etc/localtime:ro
      deploy:
        labels:
          # traefik common
          - traefik.enable=true
          - traefik.docker.network=traefik_public

          # traefikv1
          - traefik.frontend.rule=Host:homeassistant.example.com
          - traefik.port=8123

          # traefikv2
          - "traefik.http.routers.homeassistant.rule=Host(`homeassistant.example.com`)"
          - "traefik.http.services.homeassistant.loadbalancer.server.port=8123"
          - "traefik.enable=true"
      networks:
        - traefik_public
        - internal
      ports:
        - 8123:8123

    grafana-app:
      image: grafana/grafana
      env_file : /var/data/config/homeassistant/grafana.env
      volumes:
        - /var/data/homeassistant/grafana:/var/lib/grafana
        - /etc/localtime:/etc/localtime:ro
      networks:
        - internal
        - traefik_public
      deploy:
        labels:
          # traefik common
          - traefik.enable=true
          - traefik.docker.network=traefik_public

          # traefikv1
          - traefik.frontend.rule=Host:grafana.example.com
          - traefik.port=3000

          # traefikv2
          - "traefik.http.routers.grafana.rule=Host(`grafana.example.com`)"
          - "traefik.http.services.grafana.loadbalancer.server.port=3000"
          - "traefik.enable=true"

          # Remove if you wish to access the URL directly
          - "traefik.http.routers.grafana.middlewares=forward-auth@file"

networks:
  traefik_public:
    external: true
  internal:
    driver: overlay
    ipam:
      config:
        - subnet: 172.16.13.0/24
Note
Setup unique static subnets for every stack you deploy. This avoids IP/gateway conflicts which can otherwise occur when you're creating/removing stacks a lot. See my list here.
Serving
Launch Home Assistant stack
Launch the Home Assistant stack by running docker stack deploy homeassistant -c <path -to-docker-compose.yml>
Log into your new instance at https://YOUR-FQDN, the password you created in configuration.yml as "frontend - api_key". Then setup a bunch of sensors, and log into https://grafana.YOUR FQDN and create some beautiful graphs :)
Chef's notes 📓
-
I tried to protect Home Assistant using oauth2_proxy, but HA is incompatible with the websockets implementation used by Home Assistant. Until this can be fixed, I suggest that geeks set frontend: api_key to a long and complex string, and rely on this to prevent malevolent internet miscreants from turning their lights on at 2am! ↩
Tip your waiter (sponsor) 👏
Did you receive excellent service? Want to compliment the chef? (..and support development of current and future recipes!) Sponsor me on Github / Ko-Fi / Patreon, or see the contribute page for more (free or paid) ways to say thank you! 👏
Employ your chef (engage) 🤝
Is this too much of a geeky PITA? Do you just want results, stat? I do this for a living - I'm a full-time Kubernetes contractor, providing consulting and engineering expertise to businesses needing short-term, short-notice support in the cloud-native space, including AWS/Azure/GKE, Kubernetes, CI/CD and automation.
Learn more about working with me here.
Flirt with waiter (subscribe) 💌
Want to know now when this recipe gets updated, or when future recipes are added? Subscribe to the RSS feed, or leave your email address below, and we'll keep you updated.