Minio
Minio is a high performance distributed object storage server, designed for large-scale private cloud infrastructure.
However, at its simplest, Minio allows you to expose a local filestructure via the Amazon S3 API. You could, for example, use it to provide access to "buckets" (folders) of data on your filestore, secured by access/secret keys, just like AWS S3. You can further interact with your "buckets" with common tools, just as if they were hosted on S3.
Under a more advanced configuration, Minio runs in distributed mode, with features including high-availability, mirroring, erasure-coding, and "bitrot detection".
Possible use-cases:
- Sharing files (protected by user accounts with secrets) via HTTPS, either as read-only or read-write, in such a way that the bucket could be mounted to a remote filesystem using common S3-compatible tools, like goofys. Ever wanted to share a folder with friends, but didn't want to open additional firewall ports etc?
- Simulating S3 in a dev environment
- Mirroring an S3 bucket locally
Minio Requirements
Ingredients
Already deployed:
- Docker swarm cluster with persistent shared storage
- Traefik configured per design
- DNS entry for the hostname you intend to use (or a wildcard), pointed to your keepalived IP
Related:
- Traefik Forward Auth or Authelia to secure your Traefik-exposed services with an additional layer of authentication
Preparation
Setup data locations
We'll need a directory to hold our minio file store. You can create a blank directory wherever you like (I used /var/data/minio), or point the /data volume to a pre-existing folder structure.
mkdir /var/data/minio
Prepare Minio environment
Create minio.env, and populate with the variables below.
MINIO_ROOT_USER=hackme
MINIO_ROOT_PASSWORD=becauseiforgottochangethepassword
MINIO_BROWSER_REDIRECT_URL=https://minio-console.example.com
MINIO_SERVER_URL=https://minio.example.com
If minio redirects you to :9001
MINIO_BROWSER_REDIRECT_URL is especially important since recent versions of Minio will redirect web browsers to this URL when they hit the API directly. (If you find yourself redirected to http://your-minio-url:9001, then you've not set this value correctly!)
Minio Docker Swarm config
Create a docker swarm config file in docker-compose syntax (v3), something like the example below:
Fast-track with premix! 🚀
"Premix" is a git repository which includes necessary docker-compose and env files for all published recipes. This means that you can launch any recipe with just a git pull and a docker stack deploy 👍.
🚀 Update: Premix now includes an ansible playbook, enabling you to deploy an entire stack + recipes, with a single ansible command! (more here)
version: '3.2'

services:
  app:
    image: minio/minio
    env_file: /var/data/config/minio/minio.env
    volumes:
     - /var/data/minio:/data
    networks:
      - traefik_public
    deploy:
      labels:
        # traefik
        - traefik.enable=true
        - traefik.docker.network=traefik_public

        # traefikv1
        - traefik.frontend.rule=Host:minio.example.com
        - traefik.port=9000

        - traefik.console.frontend.rule=Host:minio-console.example.com
        - traefik.console.port=9001

        # traefikv2 (death-by-labels, much?)
        - traefik.http.middlewares.redirect-https.redirectScheme.scheme=https
        - traefik.http.middlewares.redirect-https.redirectScheme.permanent=true

        - traefik.http.routers.minio-https.rule=Host(`minio.example.com`)
        - traefik.http.routers.minio-https.entrypoints=https
        - traefik.http.routers.minio-https.service=minio
        - traefik.http.routers.minio-http.rule=Host(`minio.example.com`)
        - traefik.http.routers.minio-http.entrypoints=http
        - traefik.http.routers.minio-http.middlewares=redirect-https
        - traefik.http.routers.minio-http.service=minio
        - traefik.http.services.minio.loadbalancer.server.port=9000

        - traefik.http.routers.minio-console-https.rule=Host(`minio-console.example.com`)
        - traefik.http.routers.minio-console-https.entrypoints=https
        - traefik.http.routers.minio-console-https.service=minio-console
        - traefik.http.routers.minio-console-http.rule=Host(`minio-console.example.com`)
        - traefik.http.routers.minio-console-http.entrypoints=http
        - traefik.http.routers.minio-console-http.middlewares=redirect-https
        - traefik.http.routers.minio-console-http.service=minio-console
        - traefik.http.services.minio-console.loadbalancer.server.port=9001

    command:  minio server /data --console-address ":9001"

networks:
  traefik_public:
    external: true
Serving
Launch Minio stack
Launch the Minio stack by running `docker stack deploy minio -c <path -to-docker-compose.yml>
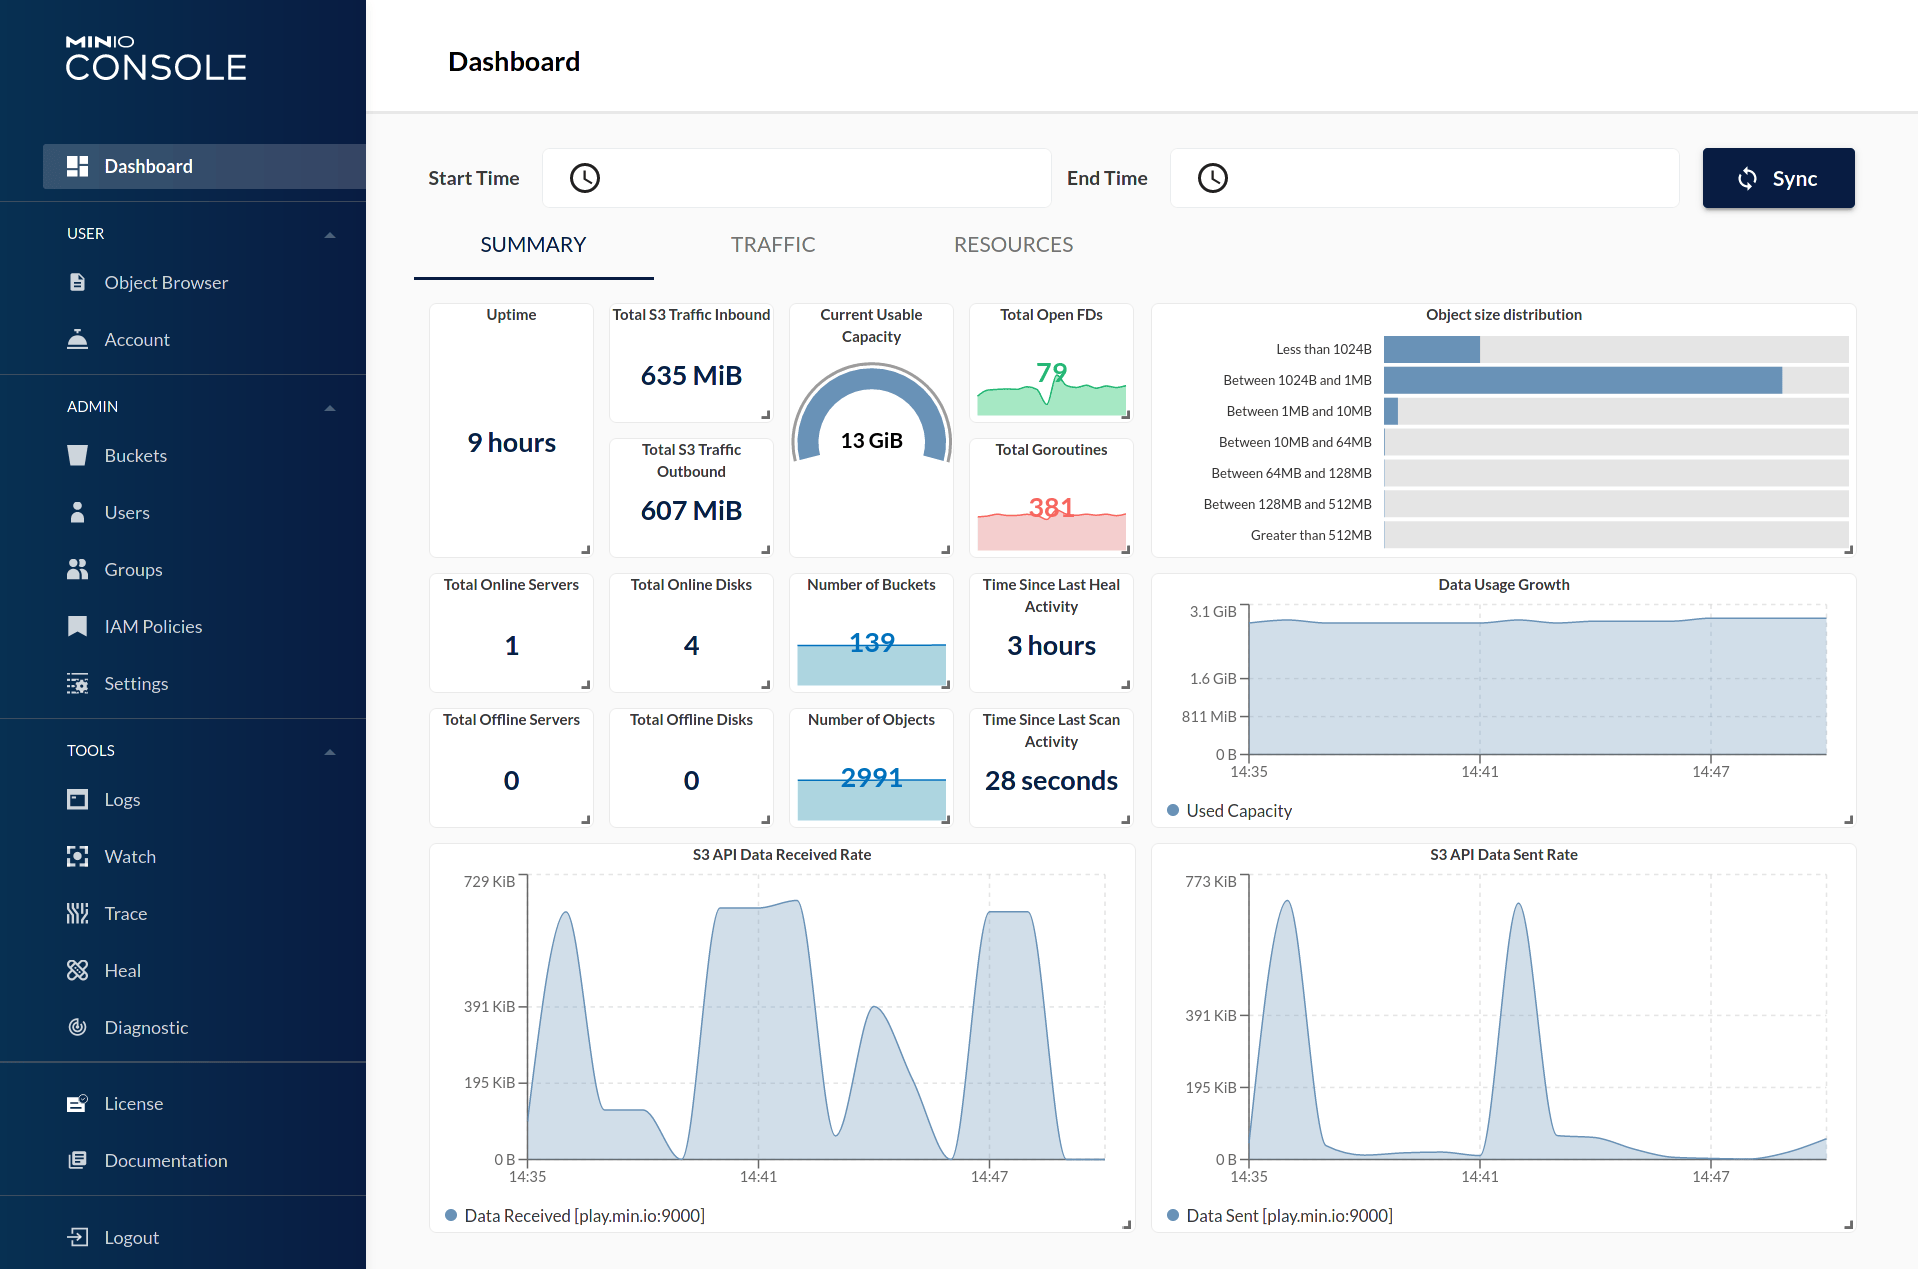
Log into your new instance at https://minio-console.**YOUR-FQDN**, with the root user and password you specified in minio.env.
If you created /var/data/minio, you'll see nothing. If you mapped /data to existing data, you should see all subdirectories in your existing folder represented as buckets.
Use the Minio console to create a user, or (ill-advisedly) continue using the root user/password!
If all you need is single-user access to your data, you're done! 🎉
If, however, you want to expose data to multiple users, at different privilege levels, you'll need the minio client to create some users and (potentially) policies...
Minio Trickz 
Setup minio client
While it's possible to fully administer Minio using the console, it's also possible using the mc CLI client, as illustrated below
root@ds1:~# mc config host add minio http://app:9000 admin iambatman
mc: Configuration written to `/root/.mc/config.json`. Please update your access credentials.
mc: Successfully created `/root/.mc/share`.
mc: Initialized share uploads `/root/.mc/share/uploads.json` file.
mc: Initialized share downloads `/root/.mc/share/downloads.json` file.
Added `minio` successfully.
root@ds1:~#
Add (readonly) user
Use mc to add a (readonly or readwrite) user, by running mc admin user add minio <access key> <secret key> <access level>
Example:
root@ds1:~# mc admin user add minio spiderman peterparker readonly
Added user `spiderman` successfully.
root@ds1:~#
Confirm by listing your users (admin is excluded from the list):
root@node1:~# mc admin user list minio
enabled    spiderman             readonly
root@node1:~#
Make a bucket accessible to users
By default, all buckets have no "policies" attached to them, and so can only be accessed by the administrative user. Having created some readonly/read-write users above, you'll be wanting to grant them access to buckets.
The simplest permission scheme is "on or off". Either a bucket has a policy, or it doesn't. (I believe you can apply policies to subdirectories of buckets in a more advanced configuration)
After no policy, the most restrictive policy you can attach to a bucket is "download". This policy will allow authenticated users to download contents from the bucket. Apply the "download" policy to a bucket by running mc policy download minio/<bucket name>, i.e.:
root@ds1:# mc policy download minio/comics
Access permission for `minio/comics` is set to `download`
root@ds1:#
Advanced bucketing
There are some clever complexities you can achieve with user/bucket policies, including:
- A public bucket, which requires no authentication to read or even write (for a public dropbox, for example)
- A special bucket, hidden from most users, but available to VIP users by application of a custom "canned policy"
Mount a minio share remotely
Having setup your buckets, users, and policies - you can give out your minio external URL, and user access keys to your remote users, and they can S3-mount your buckets, interacting with them based on their user policy (read-only or read/write)
I tested the S3 mount using goofys, "a high-performance, POSIX-ish Amazon S3 file system written in Go".
First, I created ~/.aws/credentials, as per the following example:
[default]
aws_access_key_id=spiderman
aws_secret_access_key=peterparker
And then I ran (in the foreground, for debugging), goofys --f -debug_s3 --debug_fuse --endpoint=https://traefik.example.com <bucketname> <local mount point>
To permanently mount an S3 bucket using goofys, I'd add something like this to /etc/fstab:
goofys#bucket /mnt/mountpoint fuse _netdev,allow_other,--file-mode=0666 0 0
Chef's notes 📓
Tip your waiter (sponsor) 👏
Did you receive excellent service? Want to compliment the chef? (..and support development of current and future recipes!) Sponsor me on Github / Ko-Fi / Patreon, or see the contribute page for more (free or paid) ways to say thank you! 👏
Employ your chef (engage) 🤝
Is this too much of a geeky PITA? Do you just want results, stat? I do this for a living - I'm a full-time Kubernetes contractor, providing consulting and engineering expertise to businesses needing short-term, short-notice support in the cloud-native space, including AWS/Azure/GKE, Kubernetes, CI/CD and automation.
Learn more about working with me here.
Flirt with waiter (subscribe) 💌
Want to know now when this recipe gets updated, or when future recipes are added? Subscribe to the RSS feed, or leave your email address below, and we'll keep you updated.